
Foreward
This was a a project given to Foundation Art and Design students in my Multi-Media Storytelling course. The objective of the project was to introduce them to drawing technique on a tablet as well as to directly engage them with the Creative Cloud mobile workflow. Below is a sample "Meta-Narrative" or reflection that I provided to my students as a framework for writing their own well-structured meta-narratives. My students are not only required to "do the project" and produce an artefact at the end, they are also responsible for assiduously documenting and reflecting upon the process from start to finish. This, I believe, helps with meta-cognition and gives the student authority and ownership over the entire process. I feel that it also adds significant value to their body of work beyond the typical collection of imagery that would constitute a digital portfolio.
INTRODUCTION:
This defines the nature and scope of the challenge presented in the project both creatively and technically.
This defines the nature and scope of the challenge presented in the project both creatively and technically.
The challenge was exploring and documenting the process and the Adobe Creative Cloud workflow for drawing on an iPad using Adobe Illustrator Draw, refining content in the parent application (Adobe Illustrator CC), storing and organizing artwork and documentation screengrabs in the Creative Cloud and Documenting the project here on the Behance Platform.
MATERIALS:
This is a list of all the hardware, software, platforms and conventional materials used in the project.
Hardware: iPad, Mac Pro
Software: Illustrator Draw; Illustrator CC, Photoshop, Air Drop, Photos (iPad)
Platforms: Creative Cloud, Behance
CREATIVE PROCESS:
This explores your creative process—idea or theme generation, aesthetic choices, etc. with reasons given for why you made those choices.
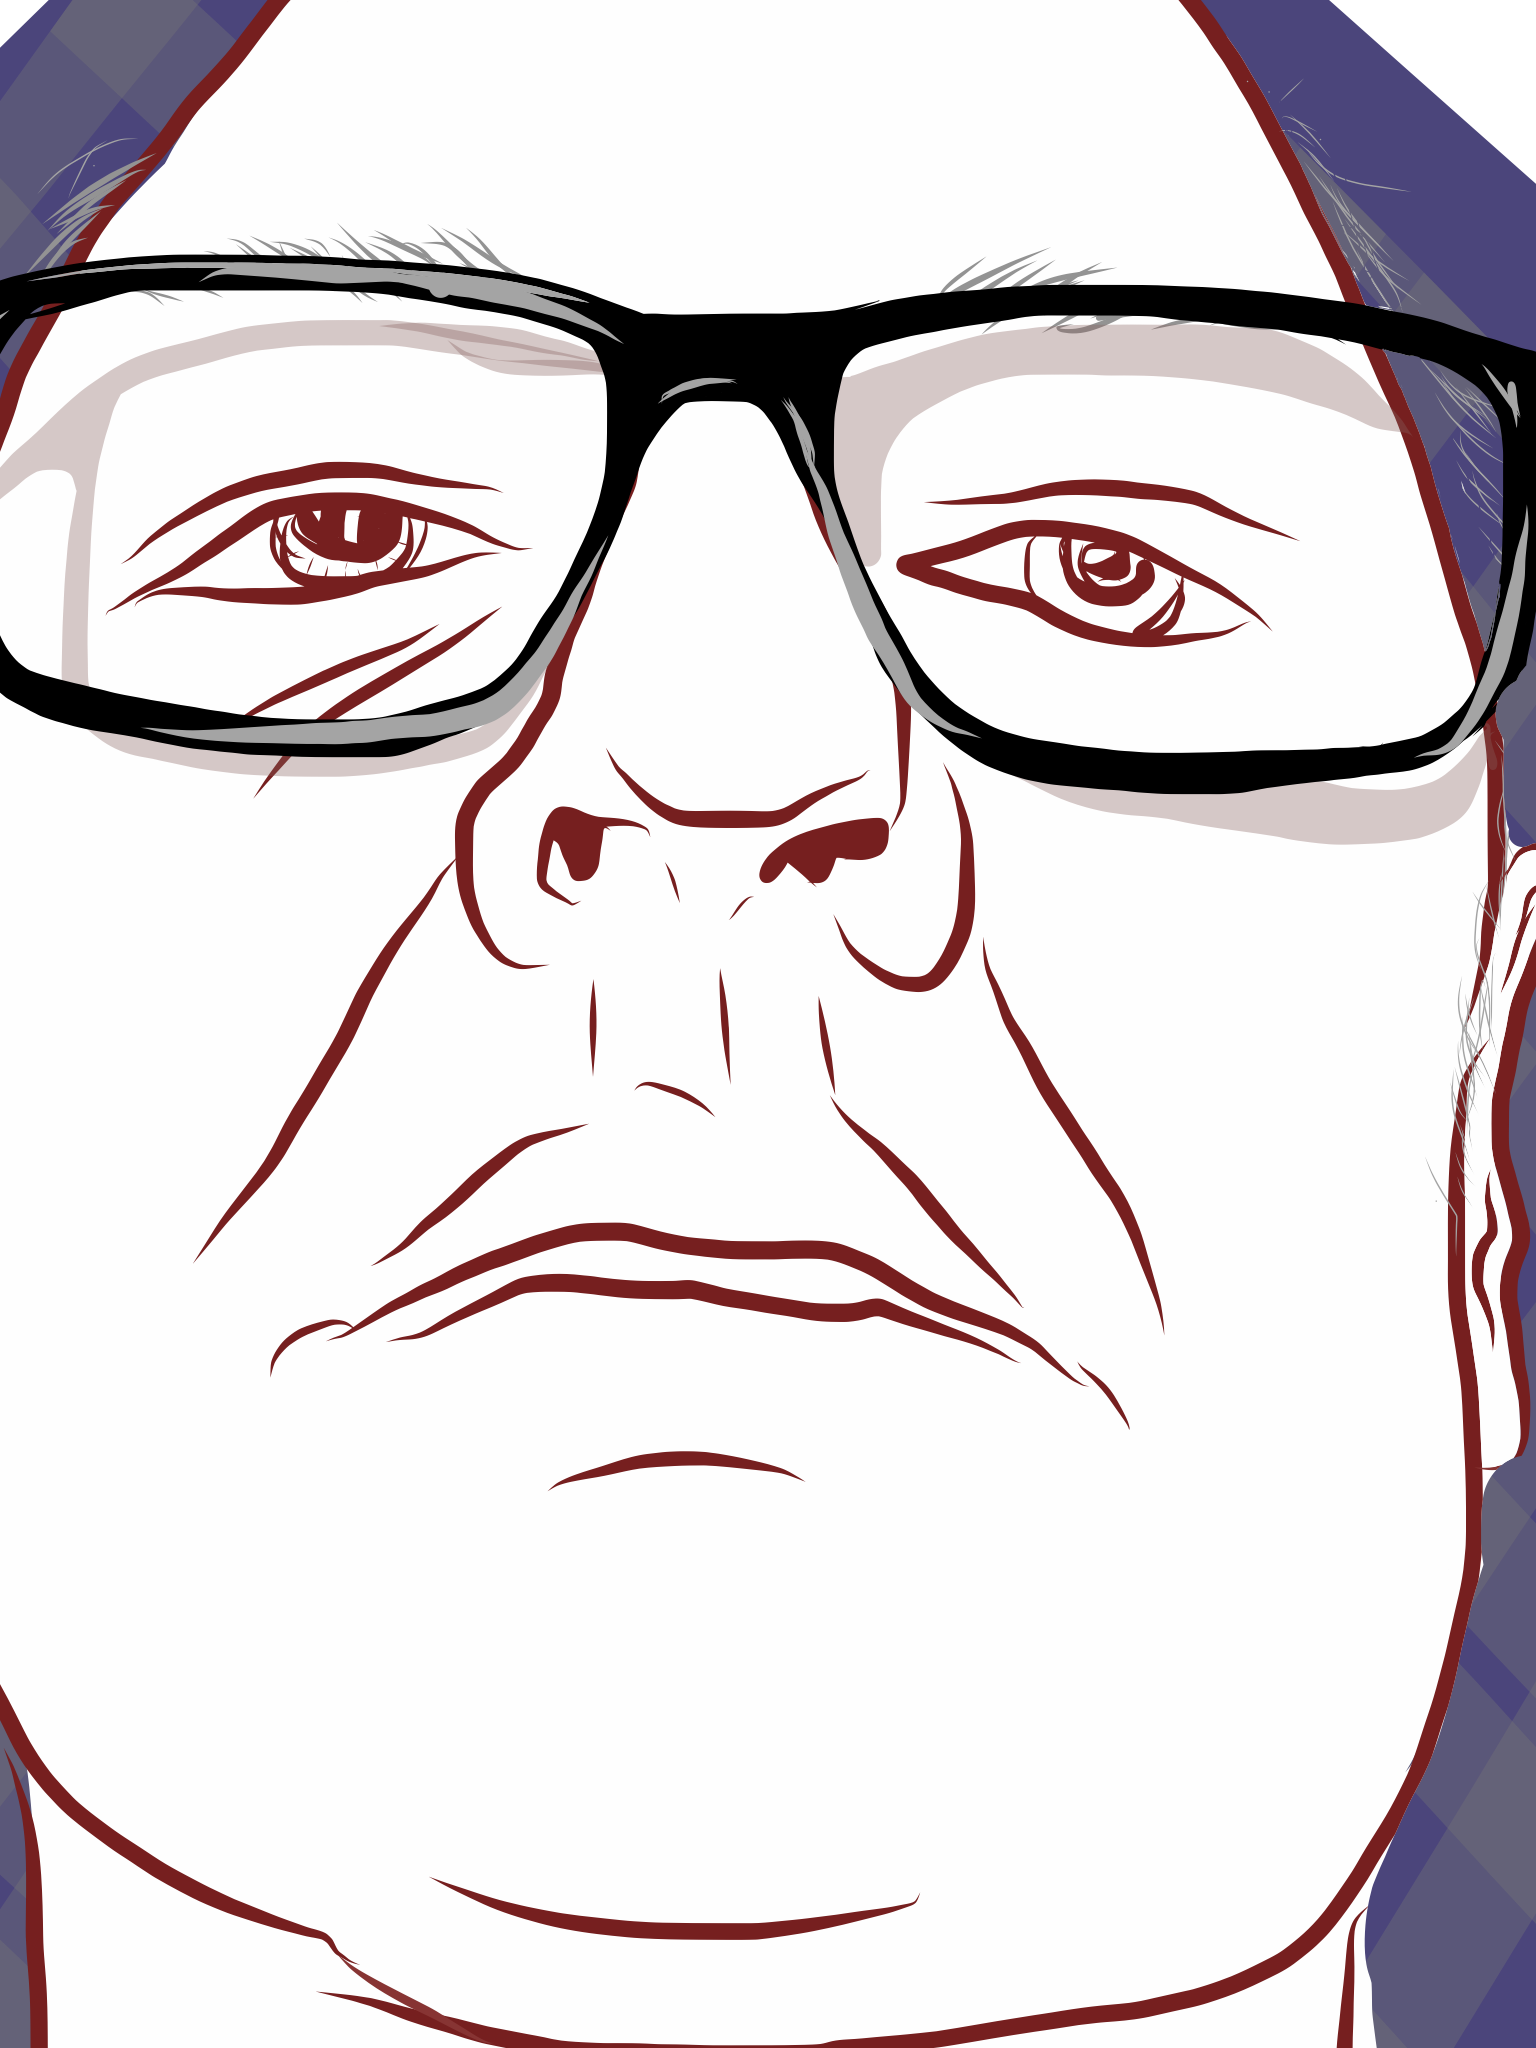
For the caricature assignment I decided to enlarge the subject's nose to mimic the distortions typical of the genre of portraiture. I also decided to add a small body, again, as an homage to the genre but also to give dominance to the face and its features. I would have added a personal effect that helped to tell a story about the subject such as a ball cap of a favourite team but time was limited.
For the cameo assignment I chose to mimic the alabaster forms of cameo done by Greek sculptors. I used a dark negative space within the ellipse on the cameo; however, I used only simple black and white line art to define the profile. Using grey values would have better approximated the subtle lighting of such a three dimensional sculptural form. I wanted to give myself the appearance of a Greek or Roman senator and would have added line work implying a toga had time permitted.
PRODUCTION METHODS & WORKFLOW:
This details the methods of production using screengrabs and workflow diagrams to support the explanation.

This flowchart details the process of creation, curation, social sharing and inter-platform articulation in the Adobe product ecosystem. The process focuses primarily on illustration using Adobe Illustrator Draw on the iPad.

Begin by launching the Adobe Illustrator Draw App then creating a NEW PROJECT by pressing the PLUS + icon. This creates one large artboard with four smaller ones below it for a total of five default art boards per project. You can add more art boards or delete them as required. They are actually all the same size. You activate the artboard that you wish to draw on by clicking on it.

To create the elliipsoid cameo outline I went to the template menu above and selected the appropriate ellipse shape.

Using a two-fiingered approach, with my thumb and forefinger in the concentric circle areas, I was able to rotate and position the ellipse. Once that was established I was able to use the pinch and zoom approach directly on the ellipse to scale it to a desired size. I then selected the Variable Width Brush and painted in the ellipse outline (It probably would have made more sense to use a set width brush to ensure a consistent line width around the ellipse).

Once the ellipse was outlined, I accessed the layer menu and added my photograph to the Photo Layer which I dimmed to about 75%. I then used the Variable Width Brush to outline my profile and add facial details. Once I had created an uninterupted outline that intersected the ellipse I was able to press down on the background and automatically fill the ellipse.

Using the SHARE icon I was able to use the OPEN IN ILLUSTRATOR function to launch the parent application Adobe Illustrator CC on my desktop (NOTE: This only works on a computer that is signed into the Creative Cloud Desktop Application using the same credentials that were used to sign in to your Illustrator Draw App on the iPad). Modifications and simplification of the artwork can be performed in the parent application. I used the OBJECT>PATH>SIMPLIFY command to reduce the number of anchor points used by the Draw App.

The simplify slider controls allow for a very rough or detailed interpretation of the original. It is best if you SELECT the PREVIEW CHECKBOX to see your changes in real time.

Being logged on to the Creative Cloud via the Desktop App I was able to go to the ASSETS>FILES area and VEW ON WEB. This allowed me to view and manage my files and folders from a web browser.

In the Web Brower view of MyFiles I created a new folder in which to organize and store my artwork and all of the screengrabs documenting my process.

I was then able to use the FILE>SAVE AS command to save a native illustrator format file directly from the parent application into my Creative Cloud folder by clicking on the Creative Cloud Files folder in the Favorites area of the finder window. From there I was able to specify the exact subfolder for my project and save the file there.

In order to get my screen grabs off of the iPad so that I could use them here for documentation I enabled AirDrop on my Desktop Finder and made my computer discovered by "Everyone" (blue link below blue AirDrop icon. This allowed me to send the files from my Photos App on the iPad to the downloads folder (on right side).

After choosing the AirDrop option on the iPad, I was able to locate my desktop computer on the list directly below the shared artwork (blue check mark). By tapping on the appropriate user I was able to send the files to that machine.
Finished Work:

Caricature of Trenton.


I added toga details in Photoshop to make my cameo more senatorial.
CONCLUSION:
This reflects on the epic wins and fails in the project. What insights did you gain? What did you struggle with? Where did you feel accomplished?
This reflects on the epic wins and fails in the project. What insights did you gain? What did you struggle with? Where did you feel accomplished?
It was a lot of fun exploring two very different forms of portraiture; however the greatest learning was in how to execute these illustrations on an iPad and how to move these drawings from one place to another using cloud based technology. The seamless integration of the Adobe Illustrator Draw iPad App with the parent Adobe Illustrator CC application on the computer was quite impressive and opened the door to possibilities of mobile field-based content creation and collaboration at a distance. Using the Creative Cloud file management platform also provided the added advantage of having access to your files anywhere any time.
I also discovered alternative methods of file sharing such as: directly sharing .png images to the Creative Cloud, Tweeting and mailing creative work, sharing to other devices using Apple's Air Drop feature as well as pushing content to desktop applications.
The biggest challenge for me was visualizing what this rather simple yet complex workflow looked like. I took the time to work out the connections between things on a white board and have included it here for future reference.
I felt that the variable width brush was quite intuitive and responsive and yielded fairly good results although the App is not very efficient rendering the objects and the path art required simplification iin the parent application.
Using Behance as a documentation tool was also worthwhile although its layout capabilities are fairly restricted. This allows me to share my work as well as my process with a broader, global audience.
I am hopeful that, by sharing in this way, others may find this useful and that they will help me to increase my social profile by liking and sharing my work and, hopefully, following me.